Quick Start Guide: PowerBI Integration
Setup PowerBI for Platform API Access
This guide will provide you with instructions on how to connect PowerBI to RepTrak's Platform API via a PowerBI web data source
This is a guide to understand how to setup the following
- Installing PowerBI Desktop
- Web Connector for Platform API
- Troubleshooting the connection
To get your API credentials in secret take the following steps
To get your API credentials in secret take the following steps
- Login to RepTrak
- Go to the Tools page to retrieve your credentials.

Install Power-BI
Operating System Requirement Windows OS
- If using MacOS best suggestion is for implemented Dual boot
- Installation for Power-BI Desktop can be found here
Setup: Web Data Source
- Open Power-BI Desktop
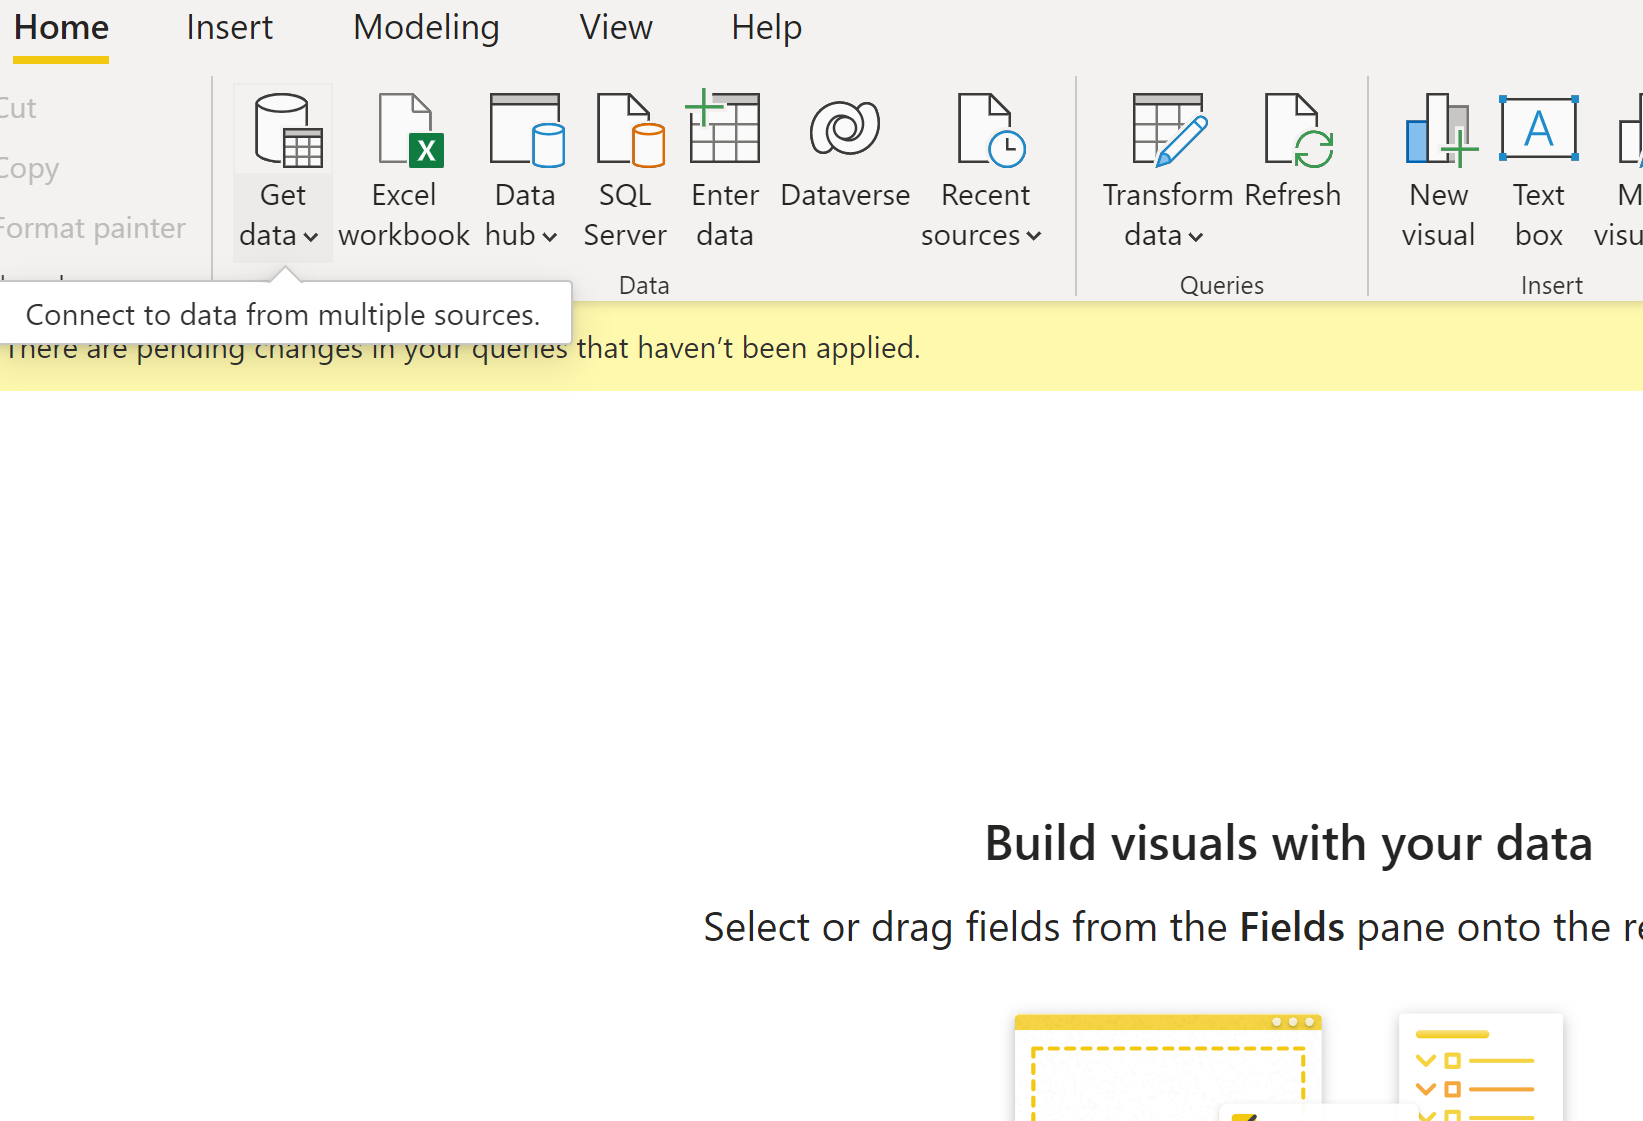
- Click Home Tab from Menu Bar & Select: Get Data
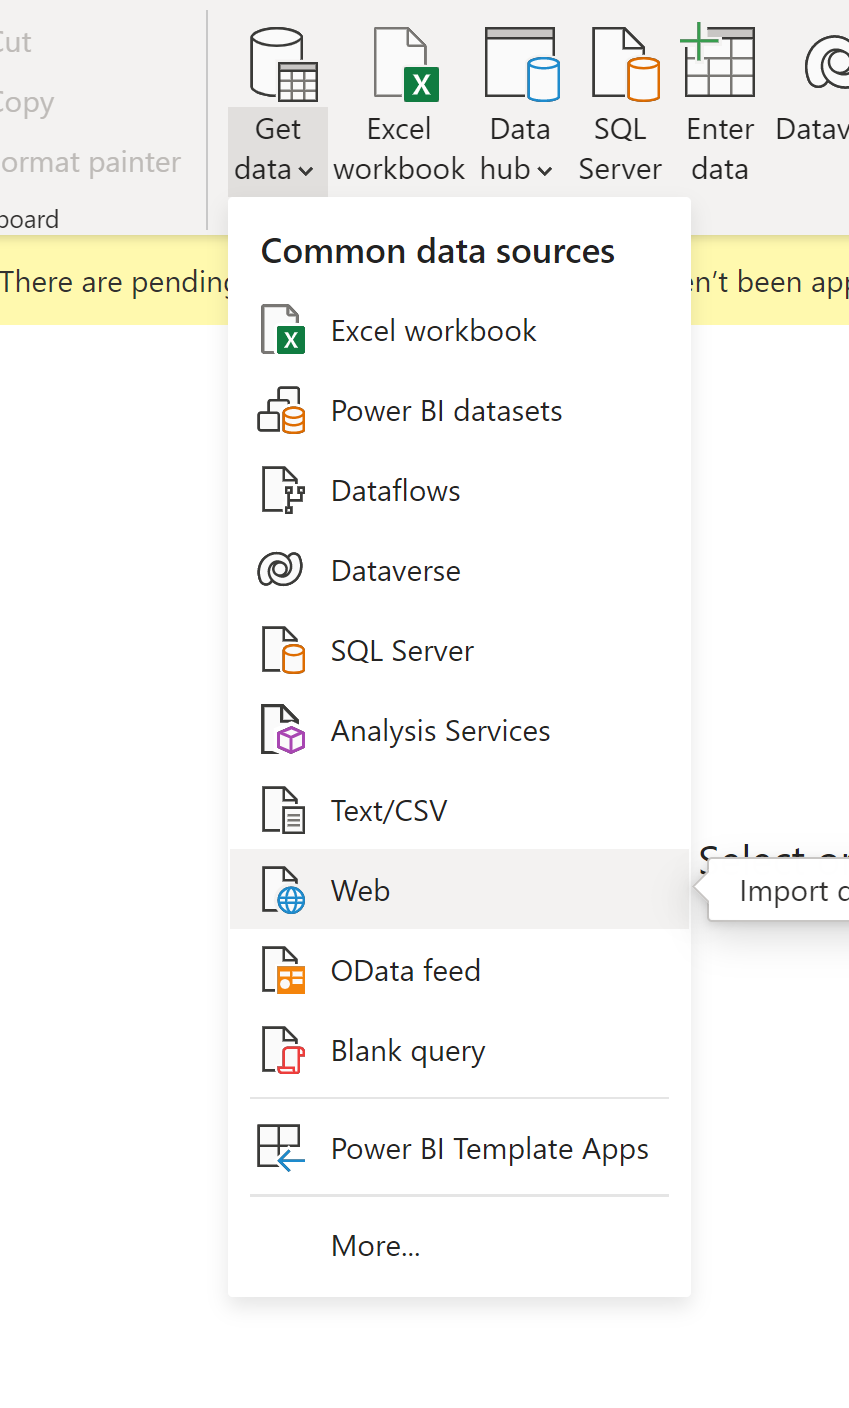
- Select Web from the drop-down menu selection
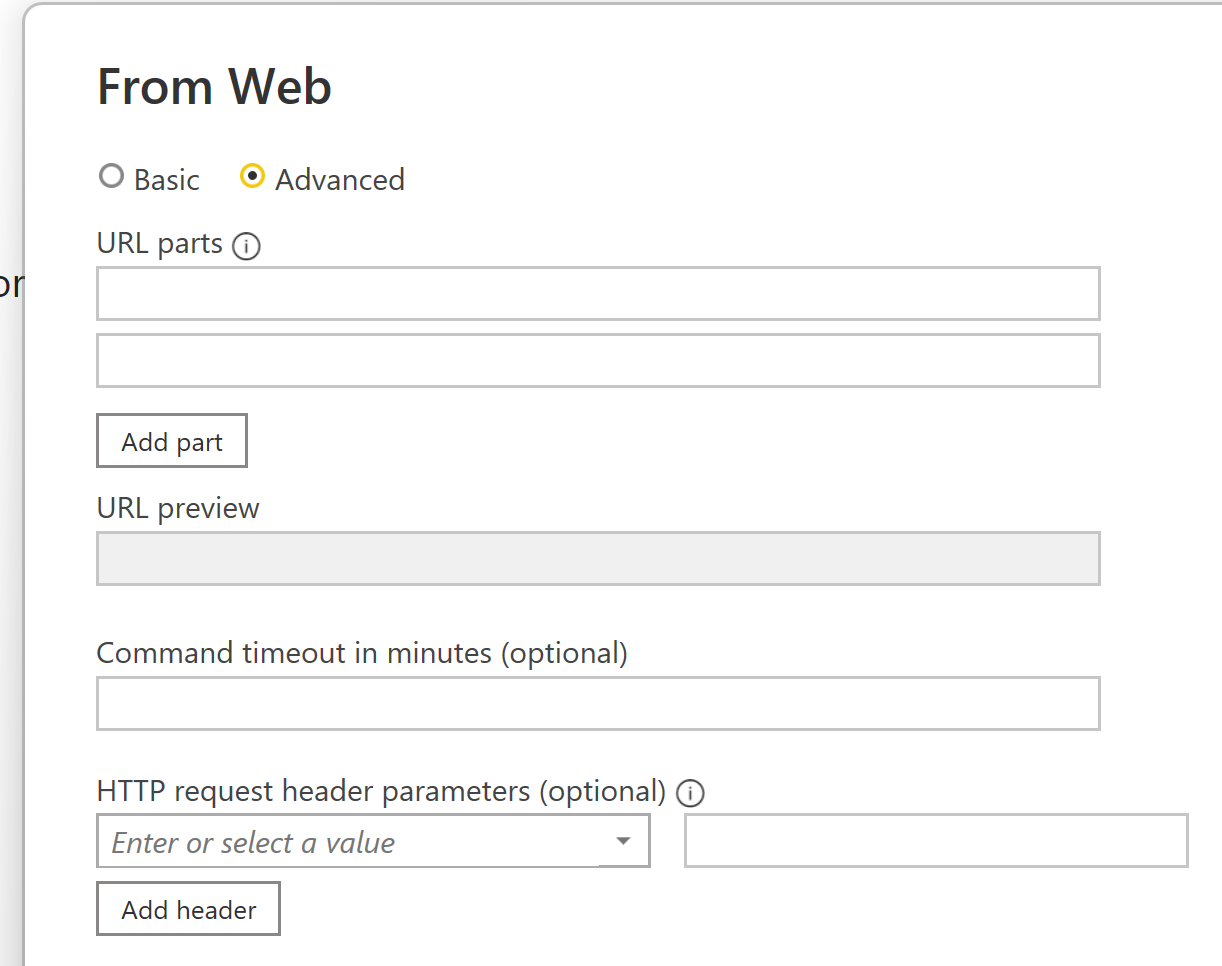
From Web UI Select Advanced Option
Using our Platform API Documentation select the appropriate endpoint for your reporting purposes. You can use our other quick start guides to help understand what API endpoints you will need for each data type.
Now select the Advanced section of the Web data source configuration wizard.
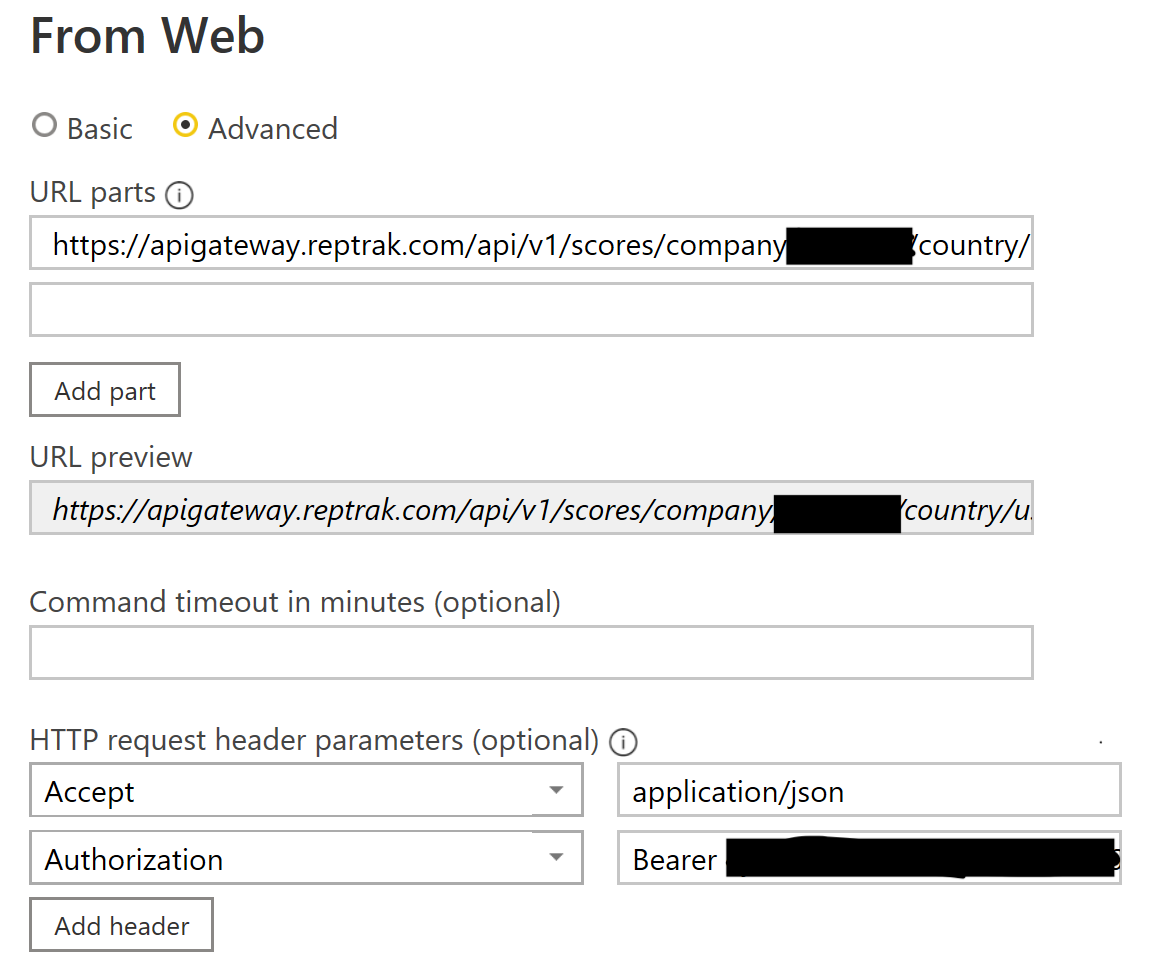
Fill in the following required fields of the Advanced Web UI:
- URL Parts - The API Endpoint you want to build against for your reporting needs
- HTTP Headers: Accept: application\json, JWT token for respective RepTrak-Client
Authentication JWT Token
Review our Authentication Guide to generate an Authentication JWT token using your credentials.
Once you have the JWT Token add it as an "HTTP request header parameter" with the name Authorization. In the value, field add the word Bearer, with a capital B, Add a space and then copy in the JWT access token you retrieved using your credentials and our Authentication Guide
- When connected the default report for supplied API endpoint data will be loaded into the UI.
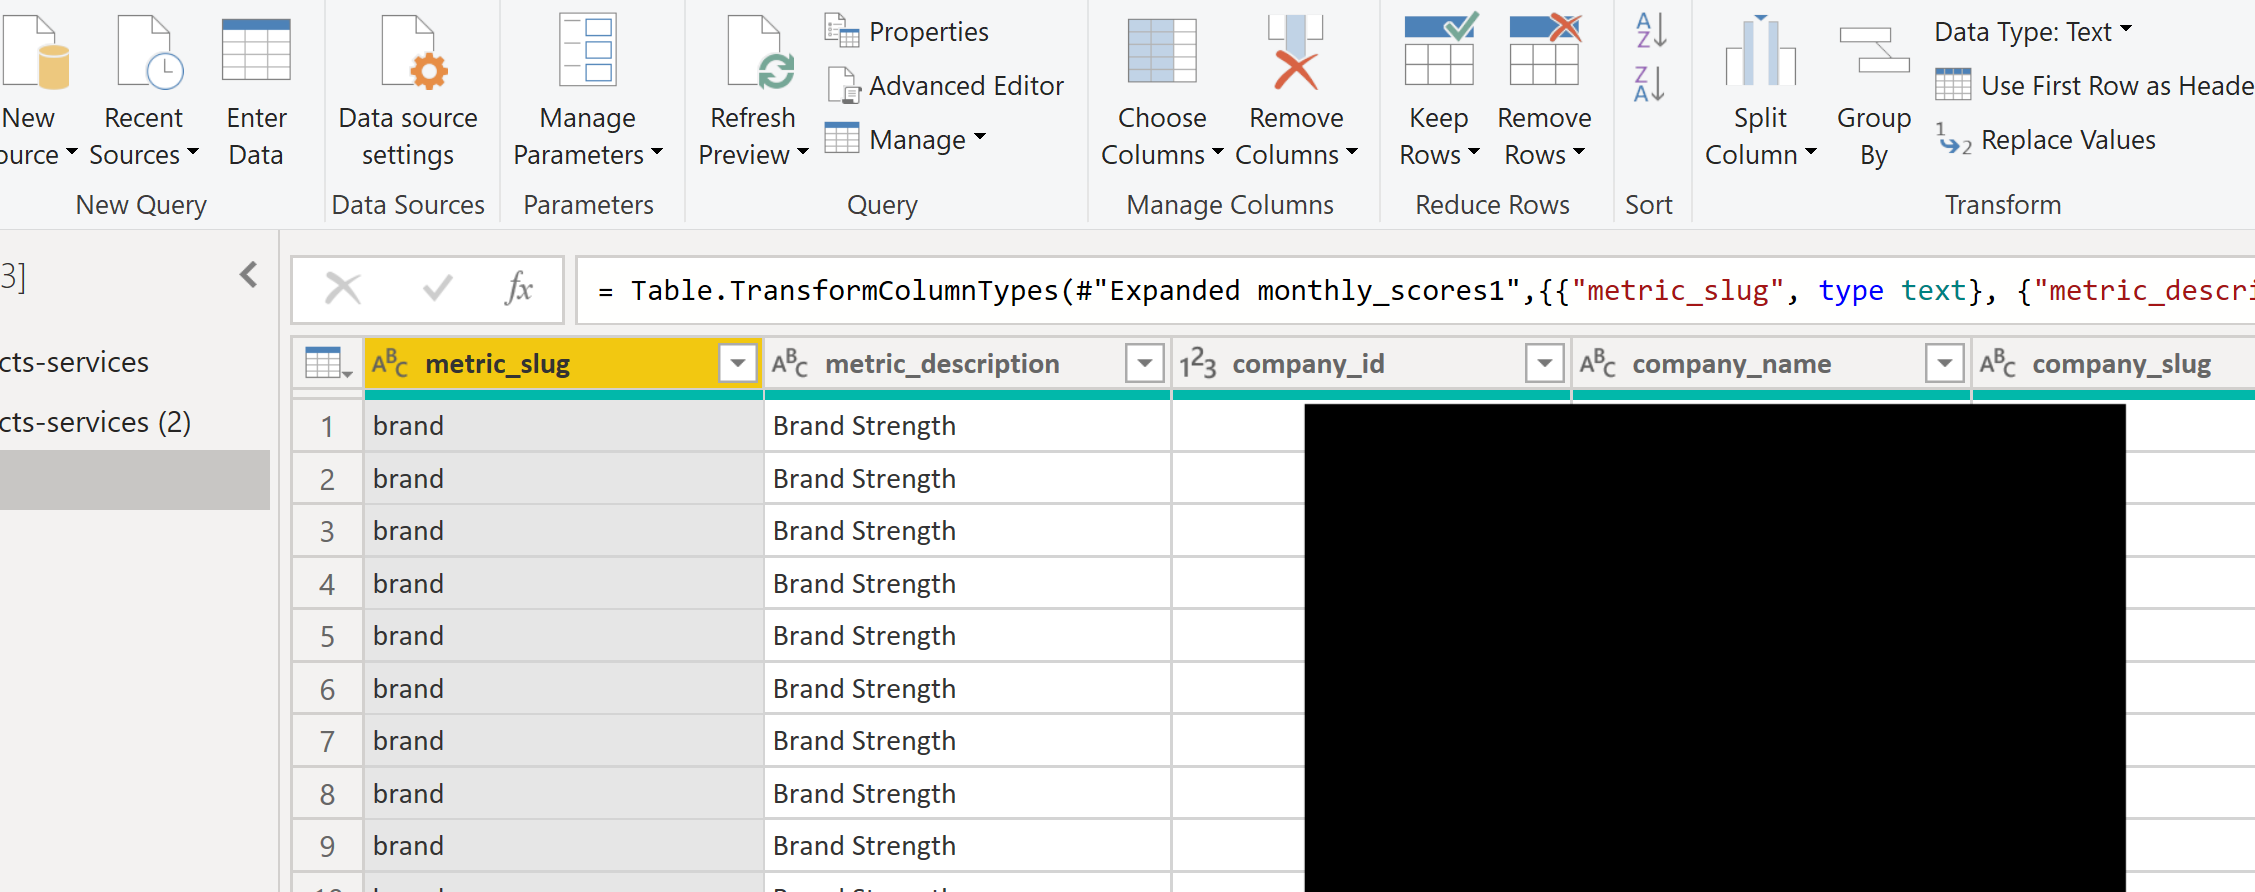
Your token will expire in 24 hours. You will either need to go through the Authentication process again to retrieve a new token or follow the rest of this guide to learn how to have Power-BI refresh the token.
Refreshing the Access Token
To avoid manually retrieving a JWT Access Token every 24 hours you can generate a custom query that will update the token when it expired.
Please follow these steps to automatically refresh your JWT Access Token
- On Reporting Menu: Select Blank Query
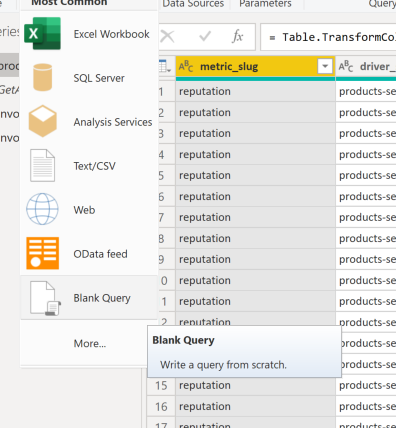
- Copy and Paste this code snippet replacing [Your_Auth0_Client_ID][Your_Auth0_Client_ID] and [Your_Auth0_Client_Secret][Your_Auth0_Client_Secret]
- Insert the following code snippet in the Advanced Editor Window
- Give your query a name example and save it as "GetToken()"
()=> let
    url = "https://apigateway.reptrak.com/auth/v1/access_token",
    headers = [#"Content-Type" = "application/json"],
    postData = Json.FromValue([
    client_id="[Your_Auth0_Client_ID]",
    client_secret= "[Your_Auth0_Client_Secret]"]),
    response = Web.Contents(
    url,
    [
        Headers = headers,
        Content = postData
    ]
    ),
    Data = Json.Document(response),
    access_token=Data[access_token]
in
access_token-
Once complete return back to the Advance Editor of your main Datasource Web Query
-
You should see two entries for the Web Datasource for the API connection and your created GetToken() function.
-
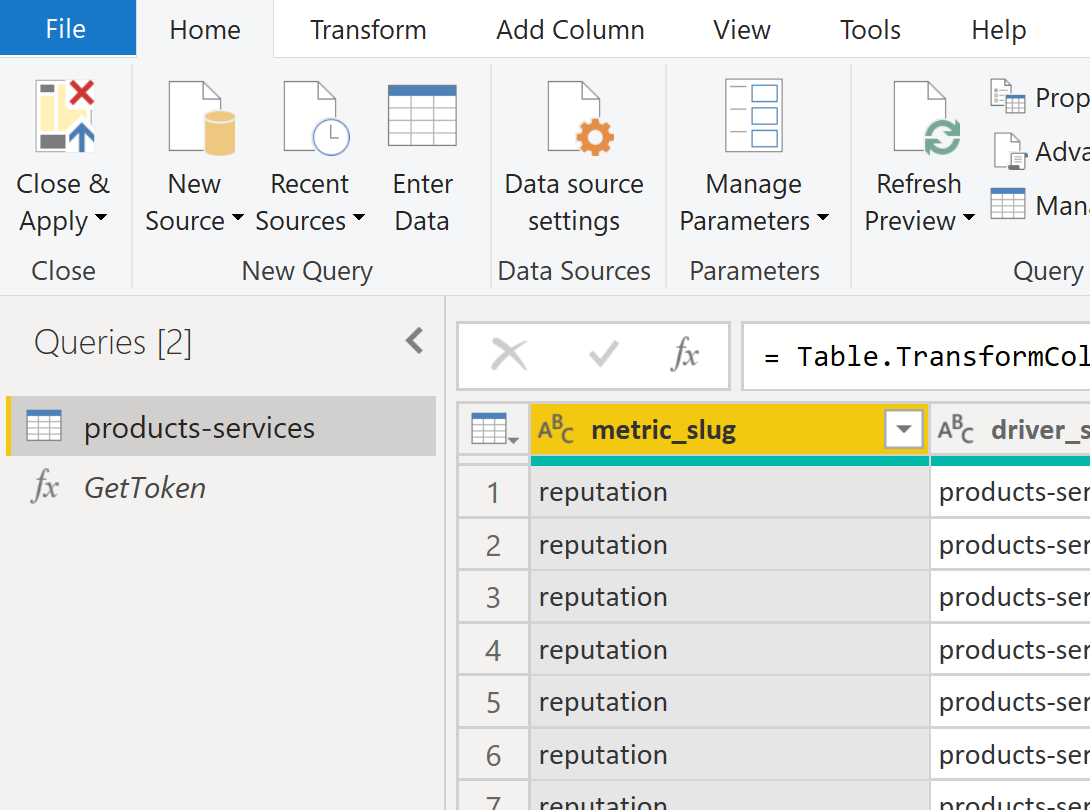
-
Right click the Web Datasource and select Advanced Editor
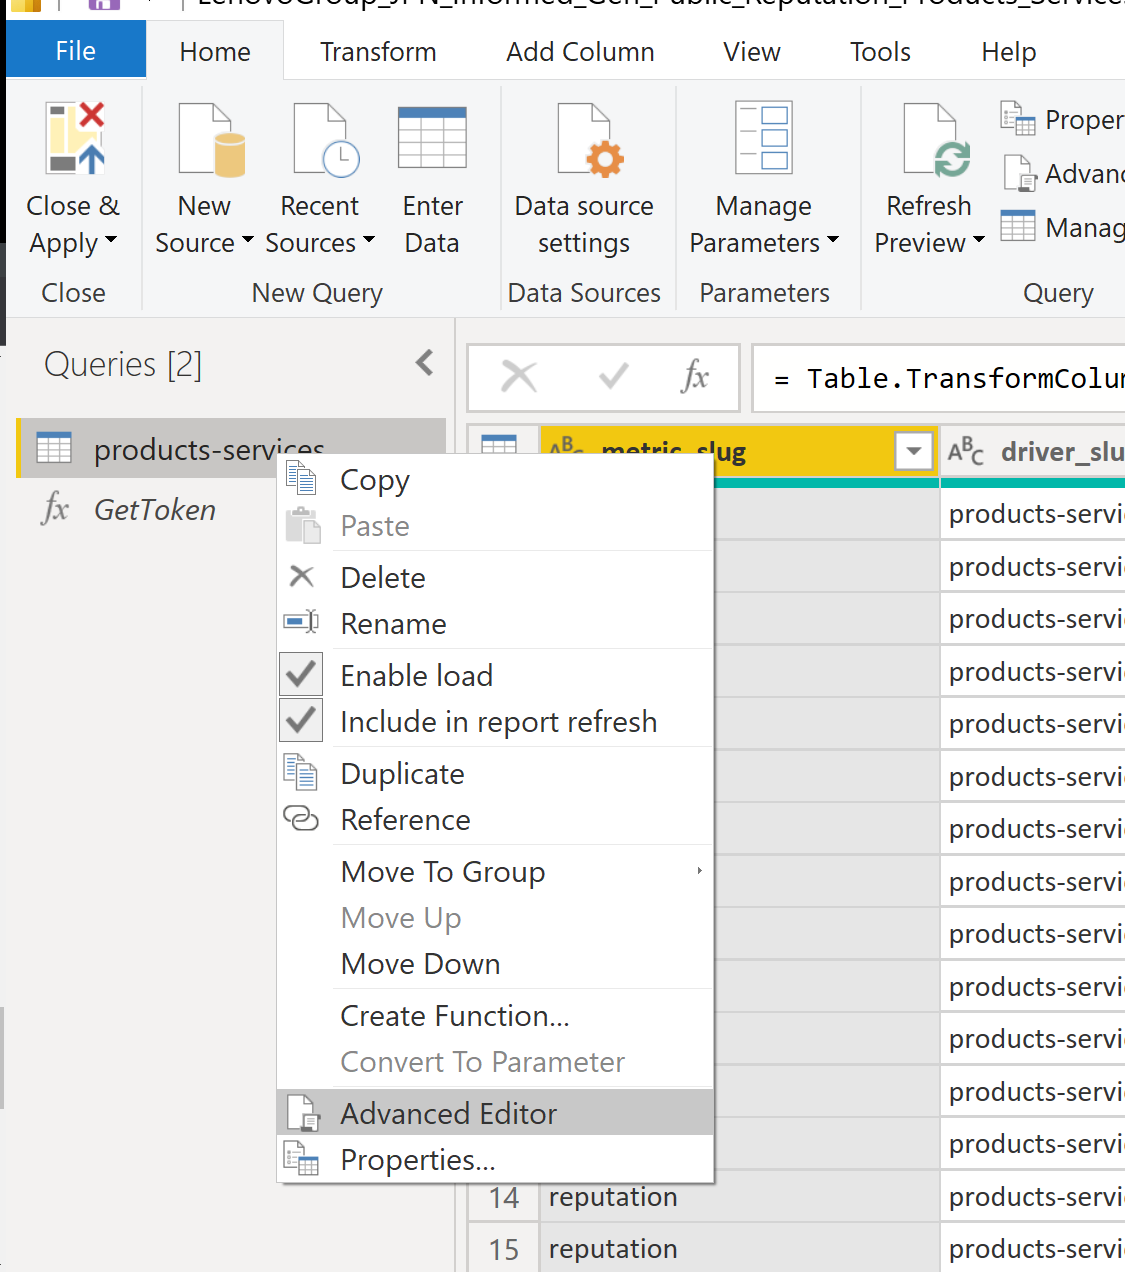
- The following line of code in the Advanced Editor will initially look like this before you add your GetToken() function
Source = Json.Document(Web.Contents("https://apigateway.reptrak.com/api/v1/scores/company/your-company-slug/country/jpn/stakeholder/informed-general-public/metric/reputation/driver/products-services", [Headers=[Accept="application/json", Authorization="Bearer eydkdkhbGciOiJSUzI1NiIsInR5cCI6IkpXVCIsImtpZCI6IkhrcFFsWTdvcGo0TEE0Sk8tc0NiTiJ9.eyJodHRwOi8vbG9naW4ucmVwdHJhay5jb20vY29tcGFueSI6IjcyNSIsImlzcyI6Imh0dHBzOi8vcmVwdHJhay51cy5hdXRoMC5jb20vIiwic3ViIjoiMFJnaWR5OGJnSm9GU3BOeVg5bm5vTTgxTDBvMGpHbkRAY2xpZW50cyIsImF1ZCI6Imh0dHBzOi8vcmVwdHJhay1hcGlnYXRld2F5IiwiaWF0IjoxNjY0NDYyMjYyLCJleHAiOjE2NjQ1NDg2NjIsImF6cCI6IjBSZ2lkeThiZ0pvRlNwTnlYOW5ub004MUwwbzBqR25EIiwic2NvcGUiOiJyZWFkOmludGVybmFsX2FwaSByZWFkOmNvbXBhbmllcyByZWFkOnJlcHV0YXRpb24gcmVhZDpzY29yZXMgcmVhZDpiZW5jaG1hcmtzIHJlYWQ6c3R1ZGllcyByZWFkOnJhdGluZ3MgcmVhZDpjbGllbnRfY3JlZGVudGlhbHMiLCJndHkiOiJjbGllbnQtY3JlZGVudGlhbHMifQ.GCxzIRGG_J5lYdYZUgMaBzVdBAsLkWy_apIM9LkCemH1tvYBz3kqDdfw3AAM54vtbNdx7DJ_VSMXPIdmUnAPWDIUajvosZjvyW-JtUWOrgvZoBrCdl3t5GtLreCYVqHUxJ_drfaw1vZ9DxMmyEAzxOAA74z892TTtNPVLy1GyN0lc3iyJRKY1ZZSHojNULfkFsTCpC5d2ef92klvzJHfJ8wyc6VHagYyGszSoi21MFigCTU39HWdQsw8yw5svW0NJidb6yTj22APT55m_uN9woUzPtYnzp49uL_clqgBnp3mEe8qA9-klXne4ZqVm-u-4FKFdyS88AG8M-D11n9q_Q"]])),- Replace the Authorization token value with a call to your newly created
GetToken()function. Authorization should now look like the following.
Authorization="Bearer "&GetToken()- Example of the line after the replacement
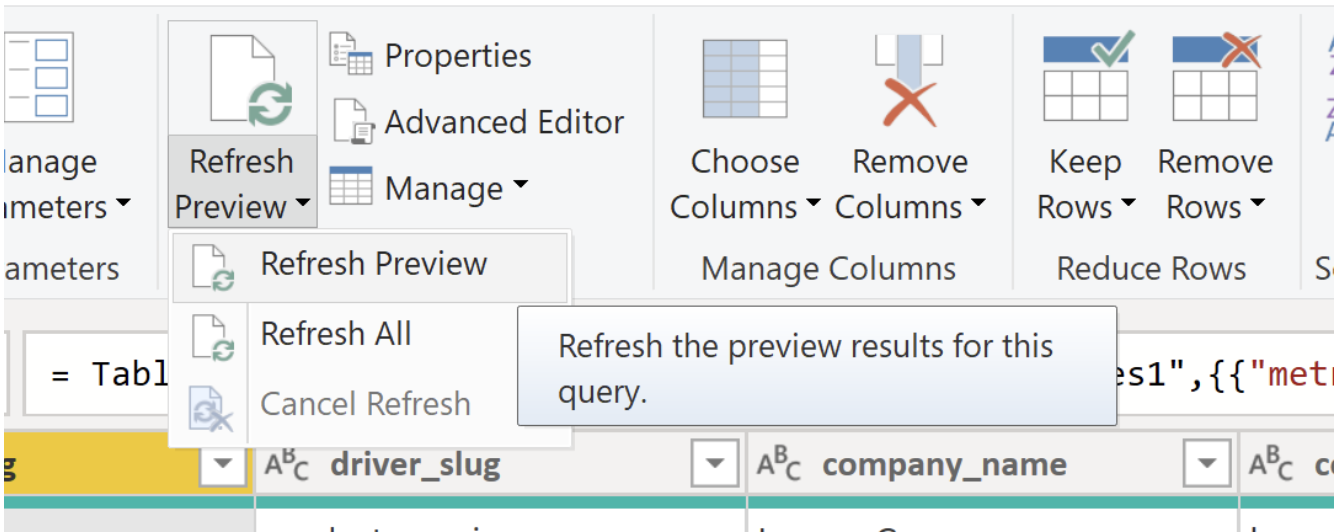
Source = Json.Document(Web.Contents("https://apigateway.reptrak.com/api/v1/scores/company/your-company-slug/country/jpn/stakeholder/informed-general-public/metric/reputation/driver/products-services", [Headers=[Accept="application/json", Authorization="Bearer "&GetToken()]])),Return back on the Power Query Editor Screen: Select Refresh Data
- Upon selecting the data refresh will execute the authenticated call to the API
Create Multiple datasets for a Web Data Source Example
If you would like use one or more RepTrak Platform API endpoints for a web data source this example should help you get started. In this example we use Reputation Drivers Scores.
Start by clicking your existing data set and select Duplicate
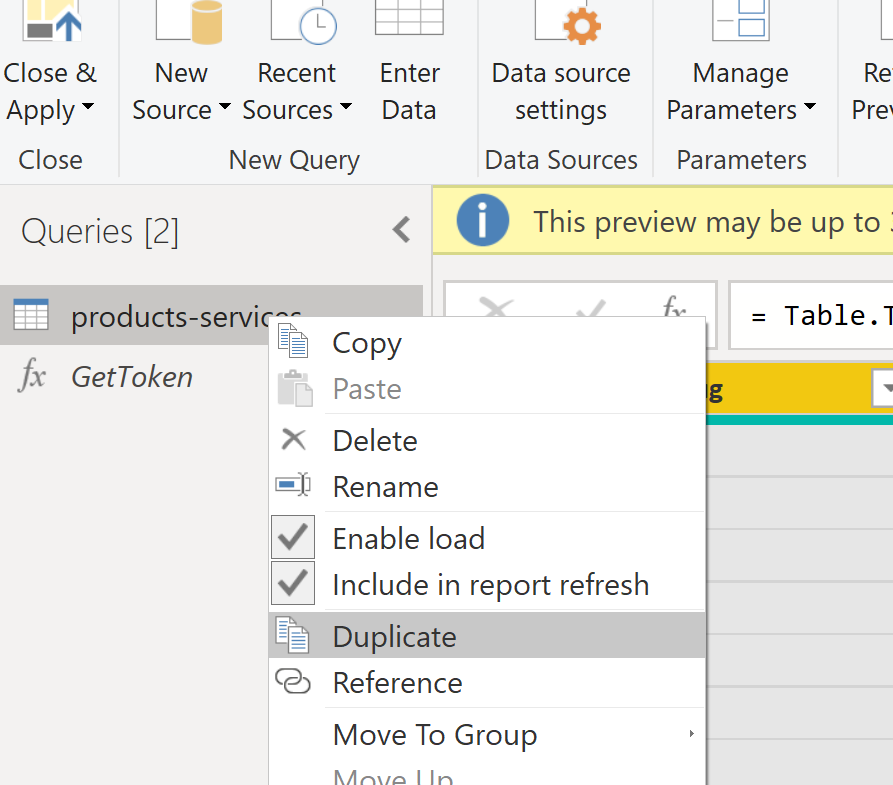
You now have a duplicate of your original dataset.
- Give your new data set a name.
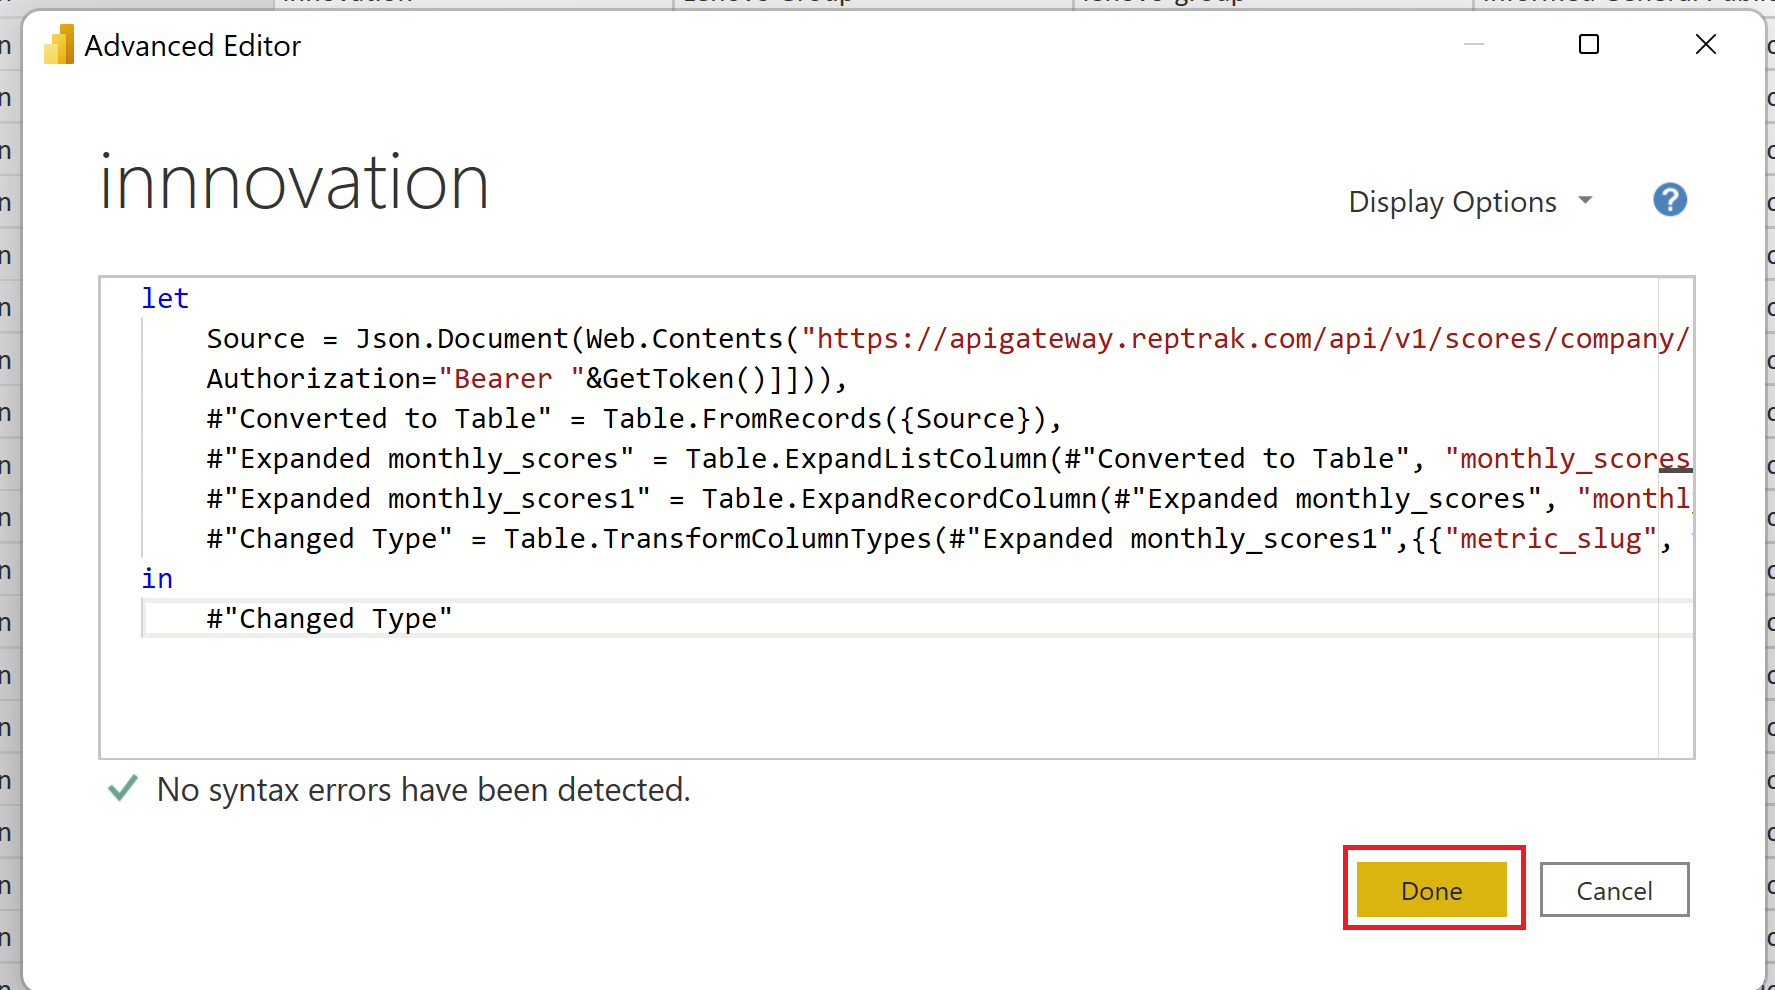
Open the advance editor of your new data set

Update your endpoint route
- In this guide we are using the Reputation Drivers Scores
Update your API-URL route with one of the 7 drivers
- products-services
- innovation
- workplace
- conduct
- citizenship
- leadership
- performance

Click Done and return to the main web data source UI
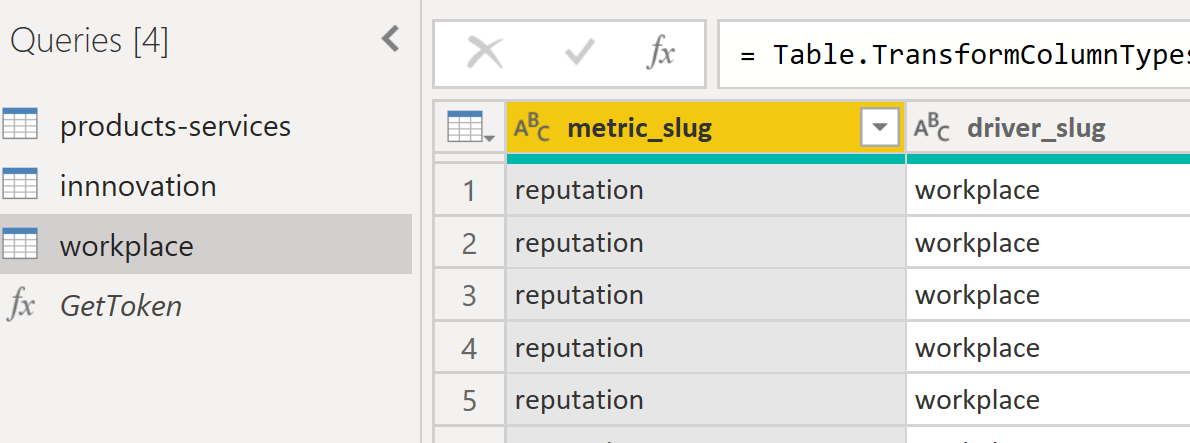
You now have a total of three queries
- Two datasets connecting to reputation drivers
- One shared Authorization function
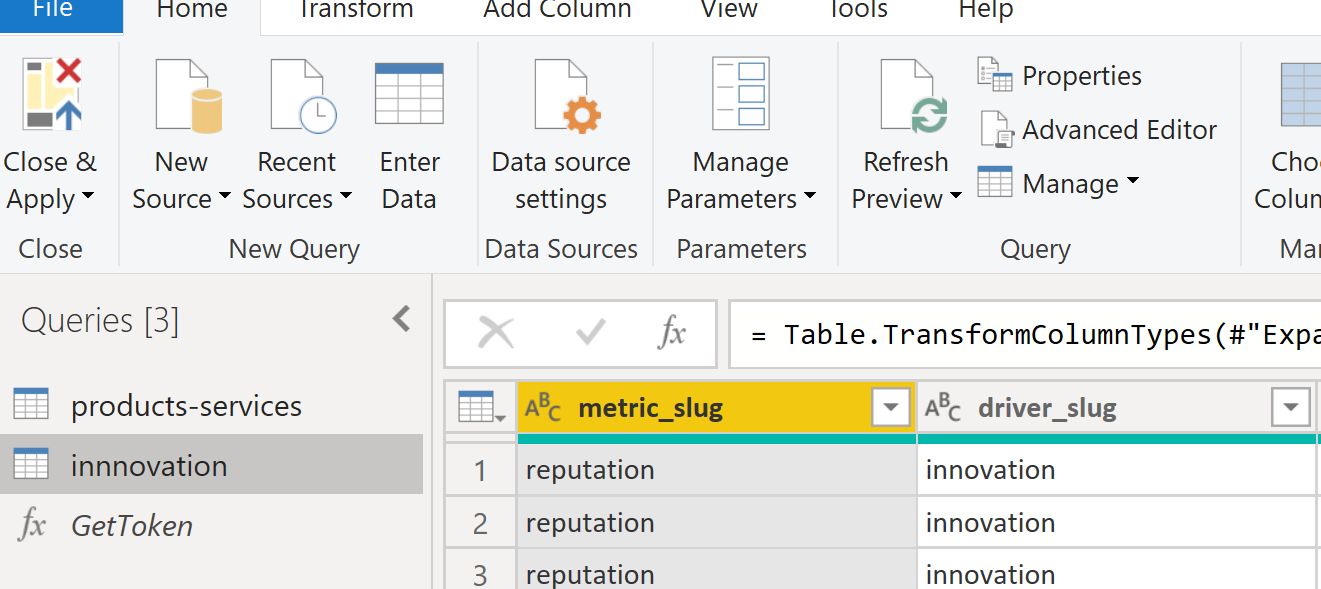
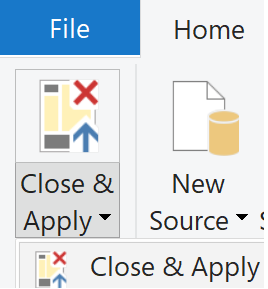
Close and Apply your dataset changes to the Web Data source
- Your data is now ready to build reports
Troubleshooting Connection Issues
You may need to reset or edit current permissions for the way you access Platform-API

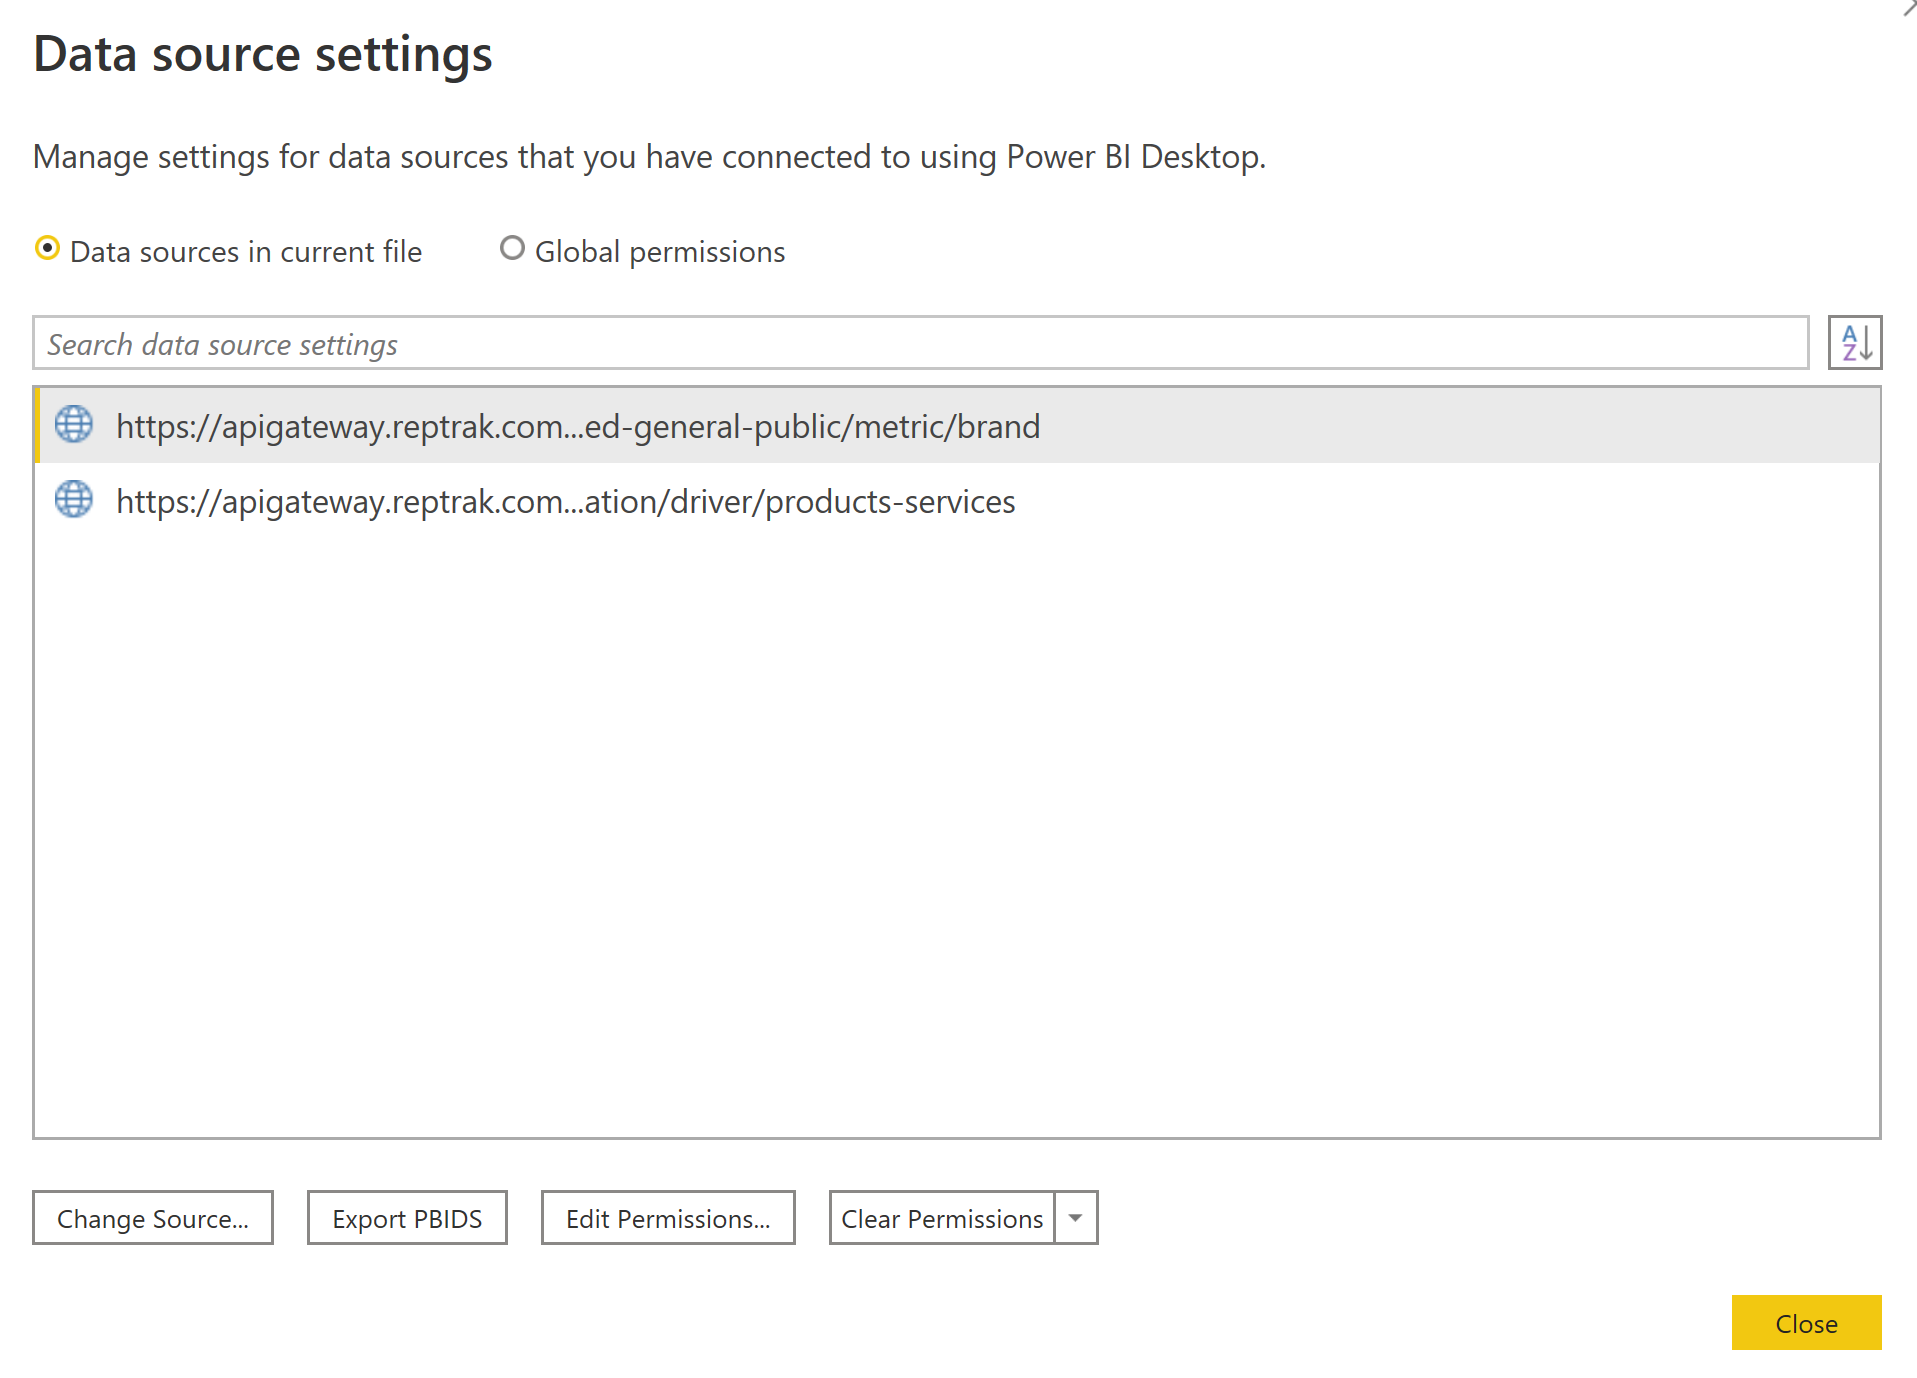
- You will need to reset permission to Anonymous
- On the reporting Menu Select: Datasource Settings and choose the appropriate action
Error adding multiple datasets to Web Data Source
You may receive the following error when adding additional datasets
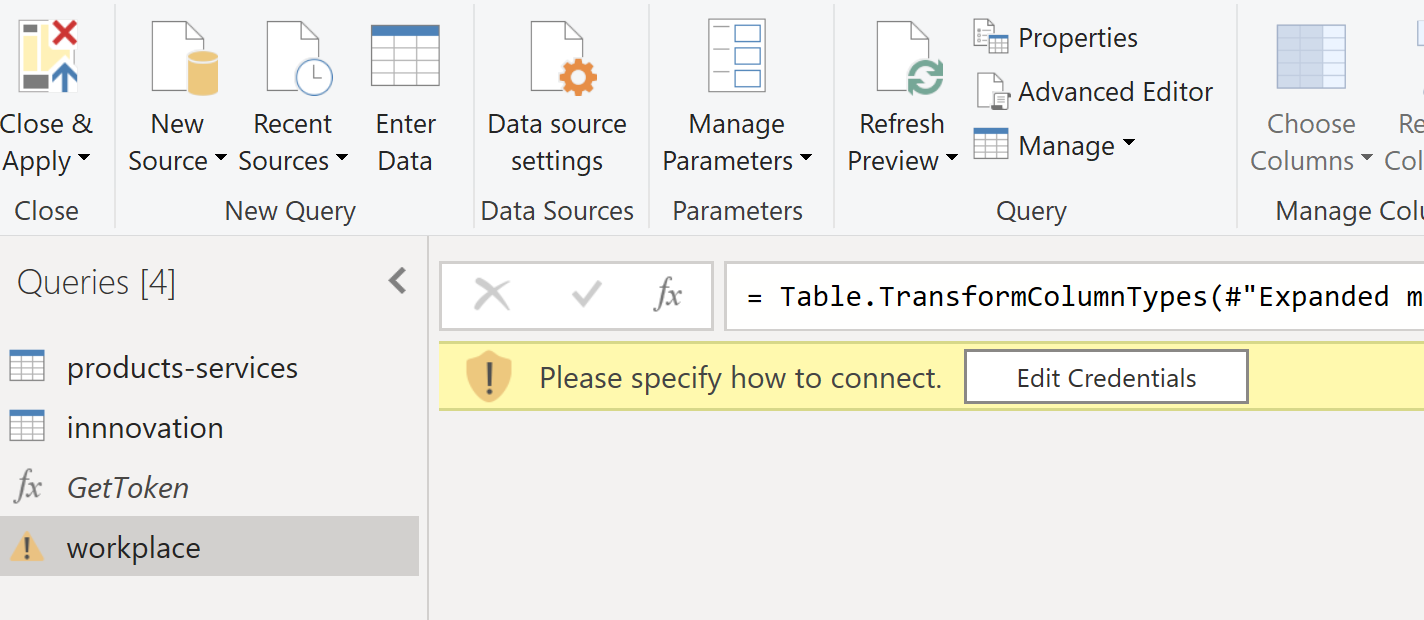
Select Edit Credentials & Access Web Content UI will give you the option to apply settings
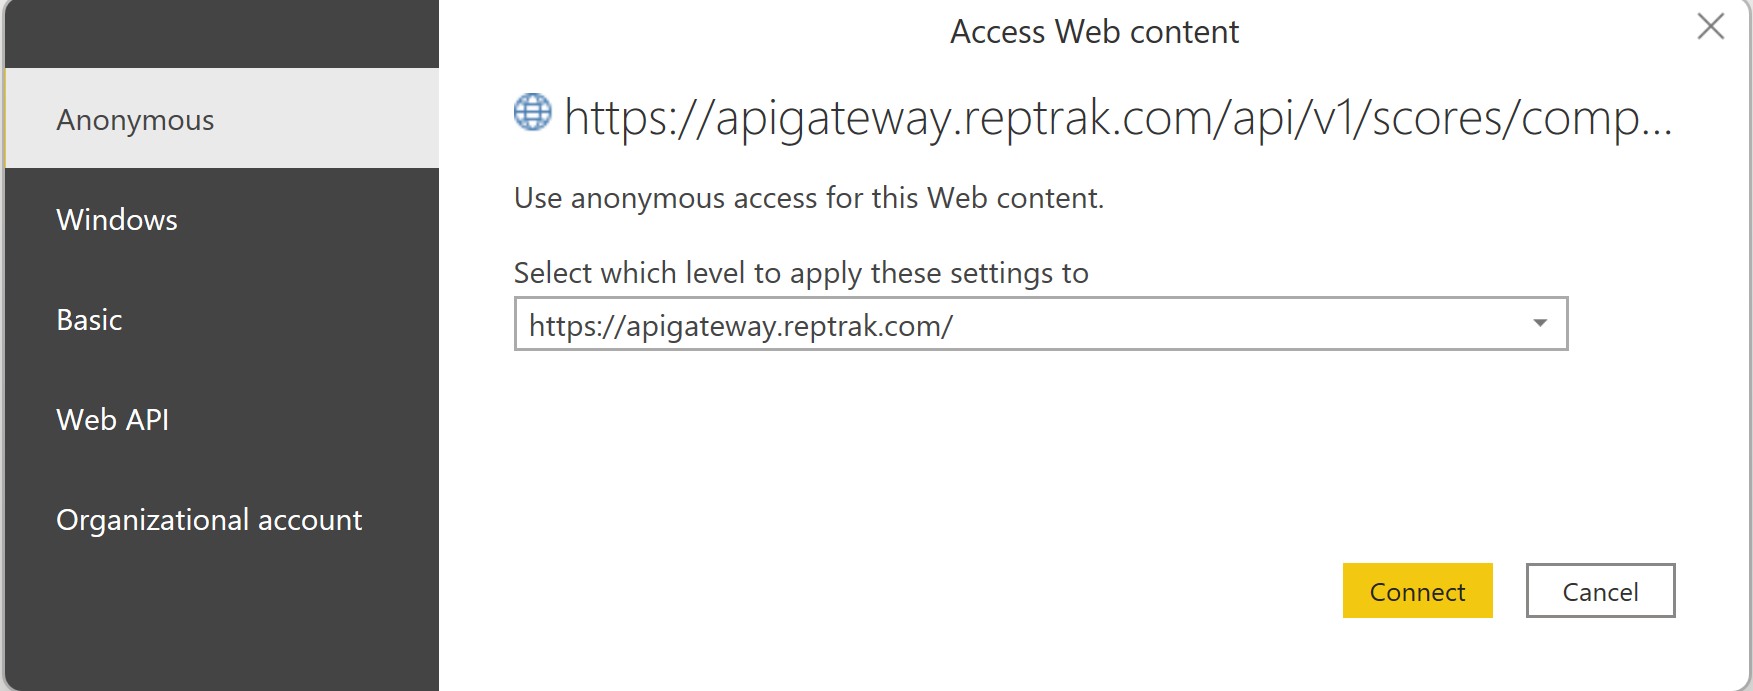
Select your new endpoint from the drop-down list and click connect

You now should have successfully added an additional dataset to your web data source
Updated 9 months ago